


Post-accident, thorough axle assessment using diagnostic tools is key for older vehicles. Professional mechanics employ advanced techniques and parts for accurate repairs. For minor issues, DIY repair involves lifting, removing components, replacing axles, testing, and addressing concerns. Always consult experts for severe damage, prioritizing safety with protective gear and fire suppression.
After a collision, older model vehicles may suffer significant damage, particularly to their axles. This guide delves into the essential steps of repairing or replacing axles post-accident for vintage rides. First, assess the extent of the damage using specialized tools and safety precautions are paramount to prevent further harm. Then, follow a step-by-step process tailored for older vehicles, ensuring a reliable and secure axle replacement that restores your classic car’s stability and safety on the road.
- Assessing Axle Damage After an Accident
- Tools and Safety Precautions for Repair
- Step-by-Step Guide to Axle Replacement
Assessing Axle Damage After an Accident
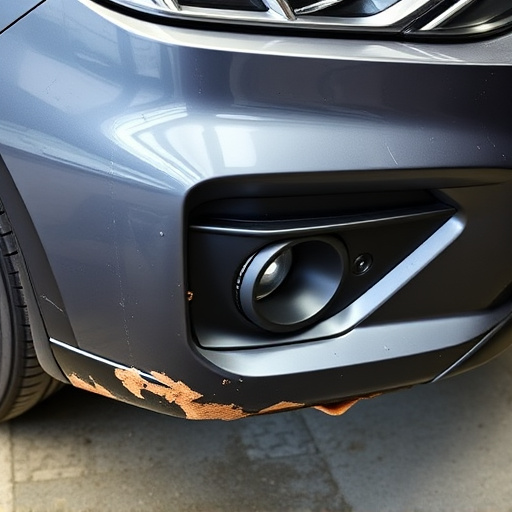
After a fender bender or car collision repair, assessing axle damage is a crucial step in the vehicle’s restoration process. Older model vehicles, with their classic charm, often require meticulous care when it comes to axle repair after an accident. The first step is to inspect the axel visually for any signs of deformation, cracks, or misalignment. Sometimes, the damage might be evident, like a bent axle shaft or a broken u-joint. However, more subtle issues can also occur, such as seized bearings or damaged seals, which may require further diagnostics using specialized tools.
A comprehensive assessment involves checking for both structural and functional integrity. This includes verifying that the axle assembly is securely fastened to the vehicle’s frame and engine components. During this process, it’s important to consider potential complications from rust or paint damage, which could complicate the repair. Professional mechanics often employ advanced techniques and tools to ensure accurate diagnosis and efficient repairs, sometimes requiring replacement parts and car paint services to restore both the functionality and aesthetics of the axle assembly.
Tools and Safety Precautions for Repair
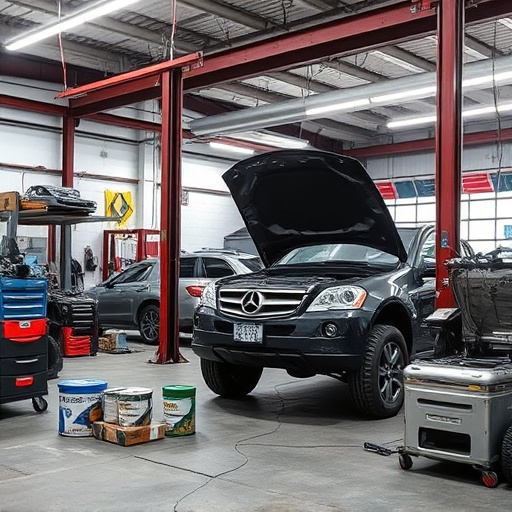
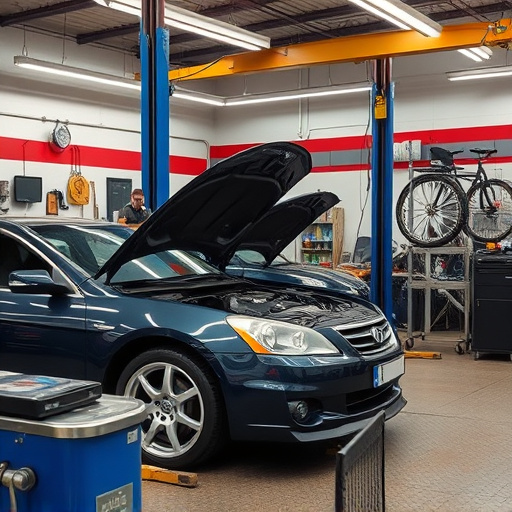
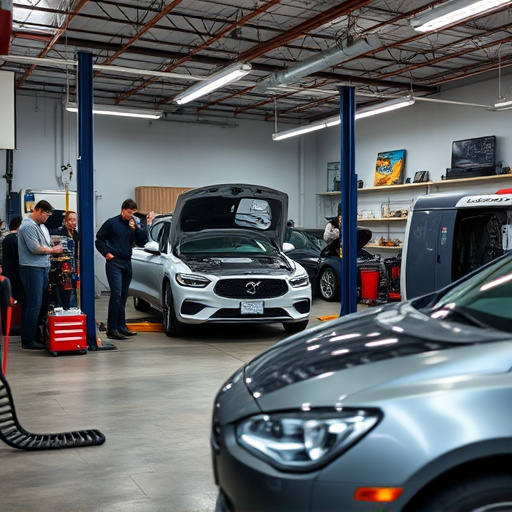
When tackling an axle repair after an accident for an older model vehicle, having the right tools is paramount. You’ll need a comprehensive set including wrenches, sockets, screwdrivers, and jack stands to safely lift and support the vehicle. A robust toolkit specific to automotive repairs is ideal, ensuring you have the correct sizes and types of tools for precise adjustments. Remember, incorrect tool usage or missing essential pieces can lead to further damage during what’s already a delicate process.
Safety is paramount in any repair scenario, especially when dealing with vehicles. Always wear protective gear like safety glasses and gloves. Ensure adequate ventilation in the workspace, as some repairs may involve hazardous materials such as rusted metal or chemical solvents used in auto painting processes. Keep fire suppression equipment nearby, as sparks from tools could ignite flammable materials in the car’s bodywork. Regularly check and maintain your toolkit to ensure every component is in good working order, enhancing the efficiency of your repair process and promoting a safe environment in your automotive body shop.
Step-by-Step Guide to Axle Replacement

After an accident, your older model vehicle’s axle may require repair or replacement. Here’s a step-by-step guide to help you navigate this process, ensuring safe and reliable transportation once again. Start by assessing the damage: inspect the axle for any visible cracks, deformities, or misalignments. If the damage seems severe, consult with a professional mechanic. For minor issues, proceed with the repair yourself or with assistance from a skilled technician.
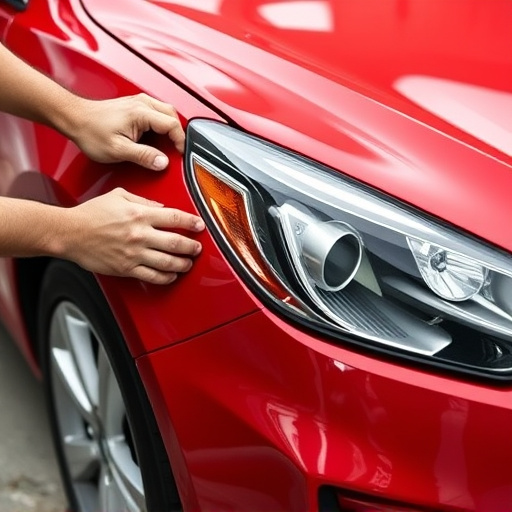
The first step in axle replacement is to lift and secure the vehicle safely. Remove the wheel and brake components, then carefully separate the damaged axle from the transmission. With the old axle out of the way, install the new one, ensuring proper alignment with the transmission and other components. Before lowering the vehicle, double-check all connections for any loose parts. Finally, test drive your car to ensure smooth operation and address any unusual noises or handling issues that may arise. Remember, if you’re not confident in your abilities, don’t hesitate to seek help from a reputable car body shop or collision center, where experienced technicians can handle the job expertly.
After an accident, proper axle repair is crucial for ensuring your older vehicle’s safety and performance. By understanding the damage assessment, adhering to essential safety precautions, and following a step-by-step guide, you can successfully replace the axle. Remember that, in light of the above, timely action and the right tools make axle repair a manageable task, keeping your vehicle on the road smoothly. Thus, for effective axle repair after an accident, it’s important to be equipped with knowledge and the necessary resources.