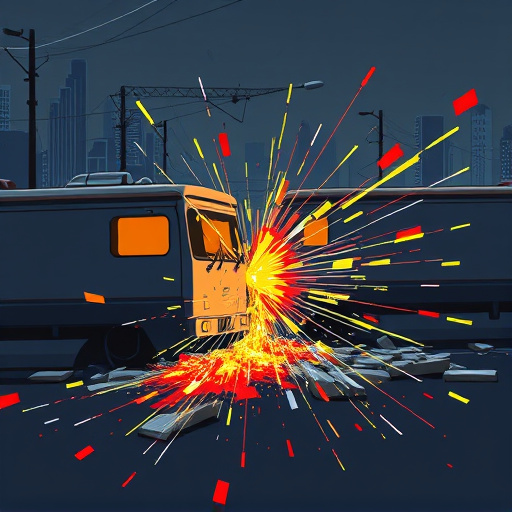

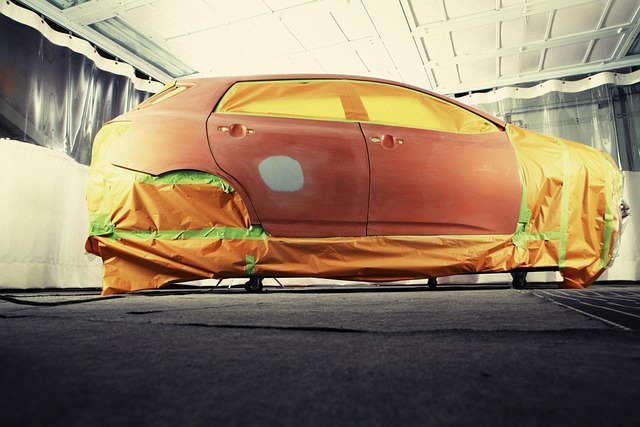


Axle repair after an accident requires careful assessment of visible damage and component condition. Repairs range from adjustments to full replacements, with significant damage often necessitating complete axle replacement for safety and reliability. Before starting, gather essential tools and prioritize safety by wearing protective gear and working in a secure, well-lit area. Follow meticulous procedures, clean tools between tasks, and ensure precise measurements to prevent future steering issues. Key steps include securing the vehicle, removing old axles, installing new ones accurately, reconnecting components, and making test drive adjustments for optimal performance and safety.
After a car accident, understanding how to handle axle repair is crucial. This comprehensive guide walks you through the process of assessing axle damage, gathering necessary tools and safety precautions, and replacing your axle with step-by-step instructions. By adhering to these steps, you’ll ensure your vehicle’s stability and safety on the road, effectively navigating post-accident repairs. Learn how to tackle axle repair after an accident with confidence.
- Assessing Axle Damage After an Accident
- Tools and Safety Precautions for Repair
- Step-by-Step Guide to Axle Replacement
Assessing Axle Damage After an Accident
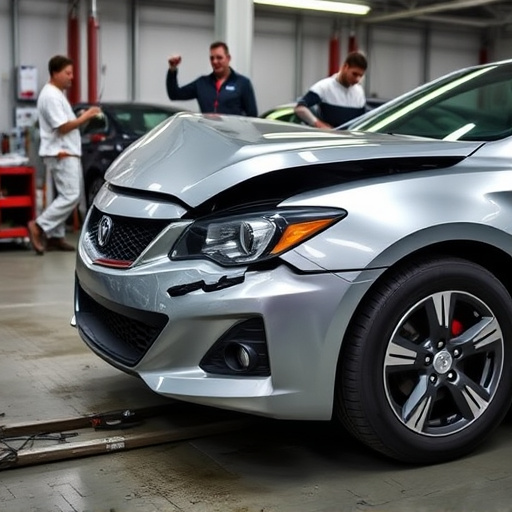
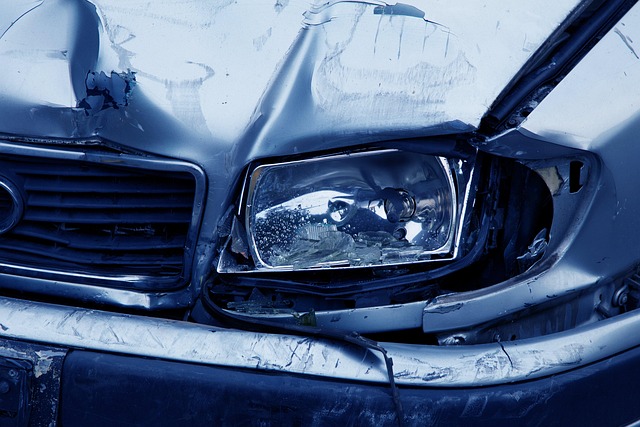
After a car accident, assessing axle damage is a crucial step in the repair process. As one of the vital components of your vehicle, axles play a significant role in its overall performance and safety. Inspecting the axles involves checking for visible signs of damage, such as dents, cracks, or misalignments. If you’re dealing with a luxury vehicle repair, specialized tools and expertise may be required to accurately assess more subtle damages.
In a vehicle collision repair scenario, understanding the extent of axle damage is essential before proceeding with any repairs. This includes evaluating the condition of the axle housing, shaft, and related components. Depending on the severity of the accident, repairs can range from simple adjustments to complete replacements. For example, if there’s significant damage to the axle or its supporting structures, a professional vehicle collision repair service might recommend a full replacement to ensure the safety and reliability of your vehicle post-accident.
Tools and Safety Precautions for Repair
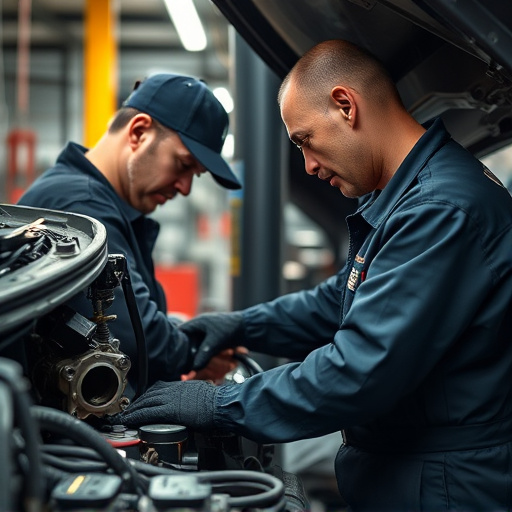
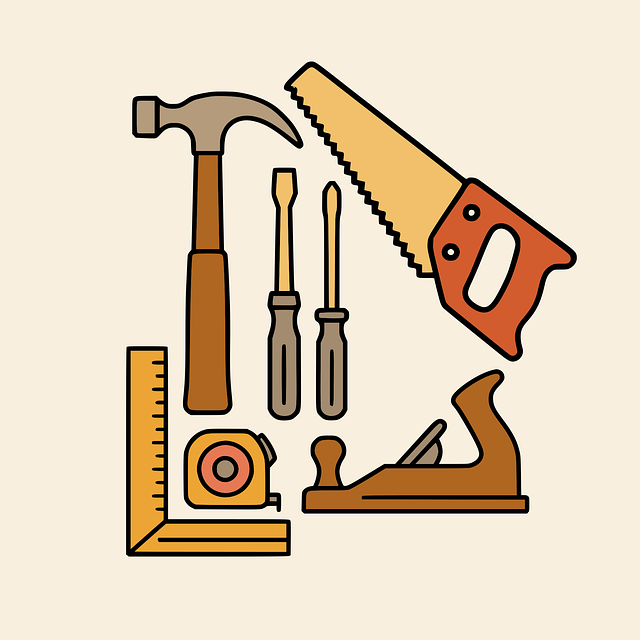
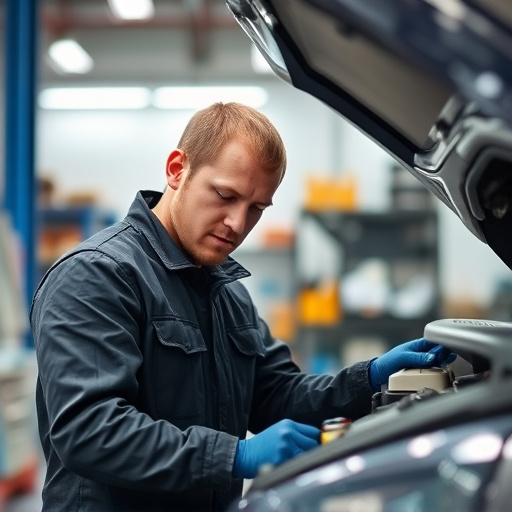
Before beginning any axle repair after an accident, ensure you have all necessary tools on hand. This typically includes a jack, jack stands, socket sets, wrenches, and possibly a new axle assembly if the damage is severe. Safety should always be your top priority; wear protective gear such as gloves and safety glasses to avoid injury from sharp metal or debris. Additionally, work in a well-lit, level area to prevent accidents while handling heavy components.
When conducting axle repair, it’s crucial to follow proper procedures to ensure the job is done correctly. This may involve removing damaged parts, inspecting the remaining structure for weaknesses, and replacing any compromised components. Remember that precise measurements are essential; misalignment can lead to future issues with steering and stability. Regularly clean your tools between tasks to prevent contamination from grease or debris, which could affect the accuracy of your repairs, especially in the case of hail damage repair or more complex vehicle body repair scenarios.
Step-by-Step Guide to Axle Replacement
Handling axle repair after an accident requires careful steps to ensure safety and proper vehicle restoration. The process typically begins with assessing the damage, a crucial step in determining if replacement is necessary. If the axle is severely damaged or bent beyond repair, it’s time for a replacement.
Here’s a straightforward guide:
1. Safety First: Ensure your vehicle is stable and safe to work on. Engage the parking brake and jack up the car using jack stands for secure support. Safety should always be the top priority in any auto body shop or when tackling automotive collision repair.
2. Remove the Old Axle: Identify and disconnect all components attached to the damaged axle, including brakes, suspension, and related hardware. Then carefully remove the old axle, taking note of its orientation and position for accurate replacement.
3. Install the New Axle: Position the new axle accurately, aligning it with the vehicle’s structure. Secure it in place using appropriate bolts or fasteners. Reconnect all detached components, ensuring proper alignment and functionality.
4. Test Drive and Adjustments: Lower your vehicle from the jack stands and take it for a test drive to ensure smooth operation and safety. Make any necessary adjustments to brakes, suspension, or steering as part of post-axle repair after accident vehicle restoration.
After an accident, properly handling axle repair is crucial for both vehicle safety and performance. By understanding the damage, equipped with the right tools, and following a systematic approach, you can effectively navigate the process. Remember, a safe and secure axle system ensures a smoother ride and prevents future accidents. With the right knowledge and precautions, you’ll be well on your way to repairing your vehicle and getting back on the road safely.